Last Updated on: 12th March 2025, 09:49 am
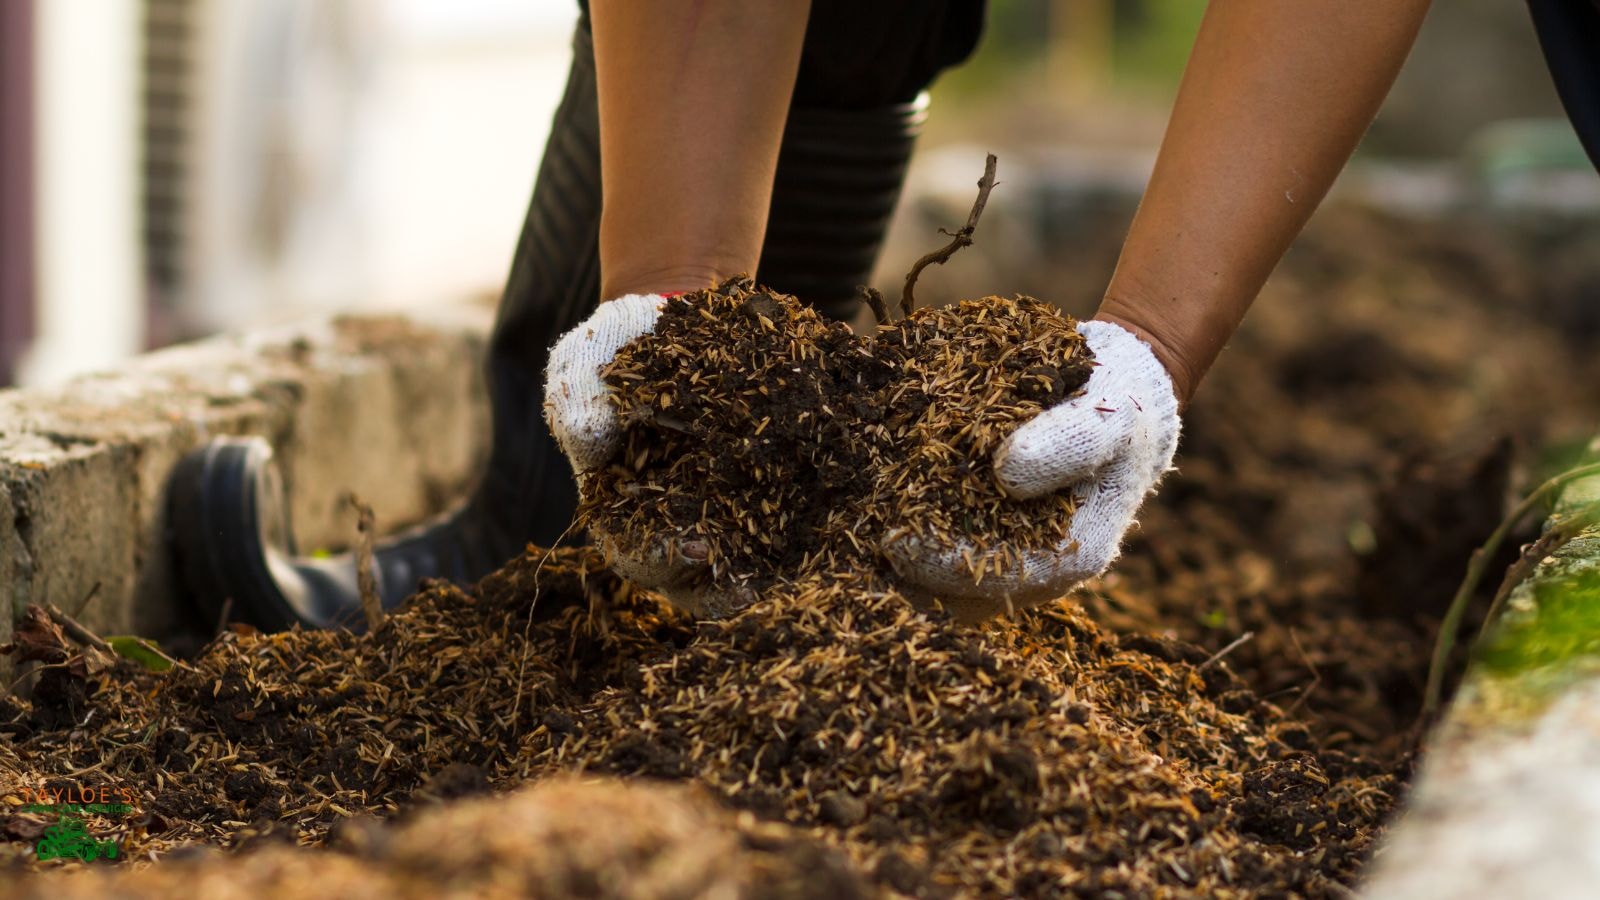
Dealing with organic waste when the weather turns cooler.
As temperatures drop, composting can feel challenging. Cooler weather slows the natural decomposition process, potentially stalling the breakdown of organic matter. However, with a few adjustments, composting in cooler weather remains a rewarding, sustainable way to recycle organic waste and prepare nutrient-rich material for spring gardening.
Composting is recycling organic materials like kitchen scraps, leaves, and yard trimmings into humus—a nutrient-rich, soil-like substance often called “black gold.” This humus helps enrich soil, improves moisture retention, and adds essential nutrients, fostering healthy, resilient plants.
Benefits of Composting
Reduces Waste and Greenhouse Gas Emissions: Composting keeps organic waste out of landfills, significantly reducing methane emissions—a potent greenhouse gas contributing to climate change.
Supports healthy soil structure: Adding compost enhances soil texture, boosting its ability to retain water and nutrients, encouraging deeper root growth, and strengthening plants’ resilience to drought and disease.
Reduces Household Food Waste: Composting transforms kitchen scraps into valuable nutrients for your garden, supporting sustainable waste management and naturally enriching soil.
Reduces Gardening Costs: Compost acts as a free, organic fertilizer, significantly reducing the need for costly chemical fertilizers and making organic gardening affordable and sustainable.
Getting Started with Composting
Composting is flexible, working well indoors or outdoors. Selecting the best method for your needs depends on key factors like:
Space Availability: Large outdoor areas are perfect for compost piles or tumblers, while smaller spaces benefit from compact options like indoor worm bins for efficient composting.
Volume and Type of Organic Waste: The nature and amount of your waste—such as kitchen food scraps or yard waste—influence the composting system that will work best for you.
Time Commitment: Some composting methods let nature take its course, while others require regular upkeep to accelerate decomposition.
Backyard composting methods generally fall into two categories:
Cold (Passive) Composting: This straightforward, low-maintenance option lets nature take the lead—just add materials as you have them. Though the process can take a year or more, it’s ideal if you prefer a hands-off method and don’t mind waiting for results. However, due to the slower breakdown, cold piles may be wetter and occasionally smellier than hot piles.
Hot (Active) Composting: Ideal if you want faster results and can manage more upkeep. By regularly turning the compost pile and balancing greens and browns, you can reach the high temperatures that accelerate decomposition, yielding usable compost in just a few months and eliminating weed seeds and pathogens for a cleaner final product.
Creating a Balanced Compost Setup
For a thriving compost pile, balance is critical. Combining carbon-rich materials, high-nitrogen materials, air, and water in the right amounts fuels the breakdown process, transforming waste into rich, garden-ready compost. Here’s how to create a setup that works, with options for various composting techniques to fit your lifestyle.
Essentials of a Balanced Compost Pile
Carbon and Nitrogen: The main secret to composting success lies in balancing nitrogen-rich materials with carbon-rich “browns.” Brown materials, like dried leaves, cardboard, and straw, provide structure and promote airflow, while greens, such as food scraps, fresh grass clippings, and coffee grounds, supply nutrients that drive microbial activity.
Ideal Carbon to Nitrogen Ratio? Aim for 2-4 parts carbon for every one part nitrogen. Too much carbon slows decomposition, while too much nitrogen creates a wet, smelly pile. Adjust as needed to maintain a balanced, odor-free setup.
Air and Water: Decomposers need oxygen and moisture to thrive. Turn your compost pile regularly to boost air circulation and keep it from becoming compacted. For moisture, aim for a consistency similar to a wrung-out sponge—damp but not soggy. Add water or more wet materials if it’s too dry; balance with carbon-heavy browns if it’s too wet.
Temperature Control: In active composting, temperatures can rise to the optimal aerobic decomposition range of 130–140°F with the right balance of greens, browns, air, and moisture, accelerating the composting process. Turn the composting materials weekly to maintain consistent heat and maximize decomposition.
Choosing the Right Composting Technique
Compost Bins: Bins keep compost neatly contained, retaining heat and moisture for easier management. Closed bins—like repurposed plastic storage bins or wine crates—help prevent animals from accessing your compost and, when placed directly on the ground, allow nutrients to leach into the soil. An open compost bin, ideal for larger yard spaces, provides easy access for adding and turning compost materials, promoting faster decomposition with a flexible setup.
Tumbler Bins: Tumblers are enclosed, rotating bins that make aeration effortless. Just turn the handle to mix and aerate the compost, speeding up decomposition. Compost tumblers can yield ready-to-use compost in a few weeks to a few months and are ideal for fast, small-batch composting.
Vermicomposting (Worm Composting): For composting indoors or in small spaces, vermicomposting offers an efficient way to turn food scraps into nutrient-rich castings using red wigglers. Set up a worm bin indoors or in a shaded outdoor area, lining it with soil and bedding material—like shredded paper or dry leaves—to create a cozy, balanced environment. Feed the worms small amounts of food scraps weekly, but avoid adding animal products and too many food scraps, which can rot and attract pests.
Compost Layering and Maintenance
Layer for Hot Composting: For active composting, start with a base of carbon-rich browns, then layer in green materials. Alternating thin layers of browns and greens boosts airflow and balances nutrients. So, turn the pile weekly to maintain high temperatures for faster breakdown and finish compost in a few months.
Add-As-You-Go for Cold Composting: Passive composting is ideal if you prefer minimal effort. Add materials as they come without worrying about layering or turning.
Key Tips for Composting Success
Size and Location: Aim for a 3-by-3-foot pile, which is large enough to heat up effectively. However, it must be small enough to maintain airflow. Place it in a shady, dry area to manage moisture naturally.
Turn and Check Moisture: Check hot compost weekly for moisture consistency. Passive composting requires little to no turning, though occasional mixing can help.
Safety Precaution: Wash hands after handling compost and avoid touching your face. If you have allergies or sensitivities, wear gloves and a dust mask when turning the compost pile.
What to Include (& Avoid) in Your Home Compost Piles
Compostable materials:
Fruit and vegetable scraps
Coffee grounds
Grass clippings
Tea bags
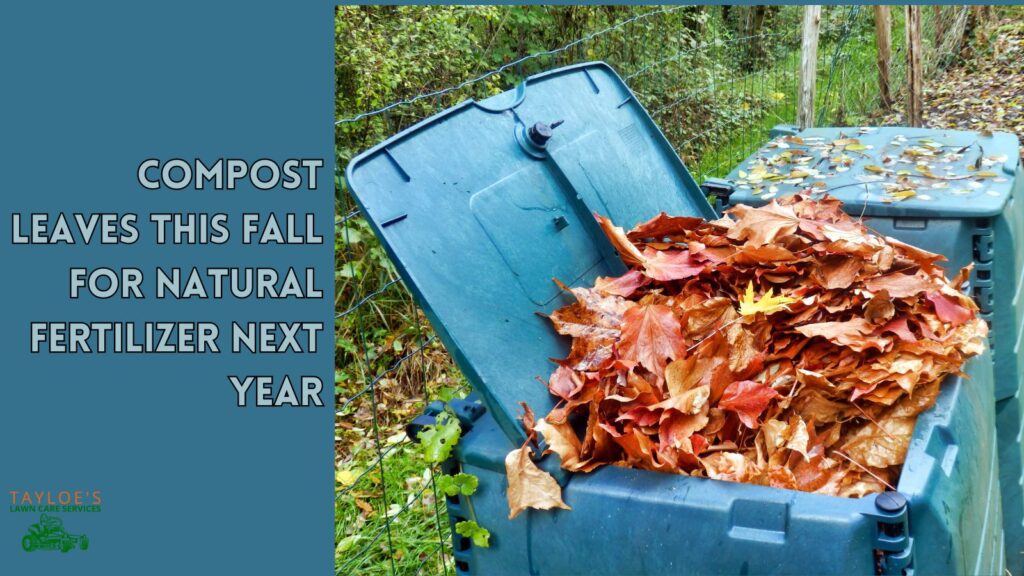
Dry leaves
Cardboard and shredded paper (non-glossy)
Wood chips and untreated sawdust (sparingly)
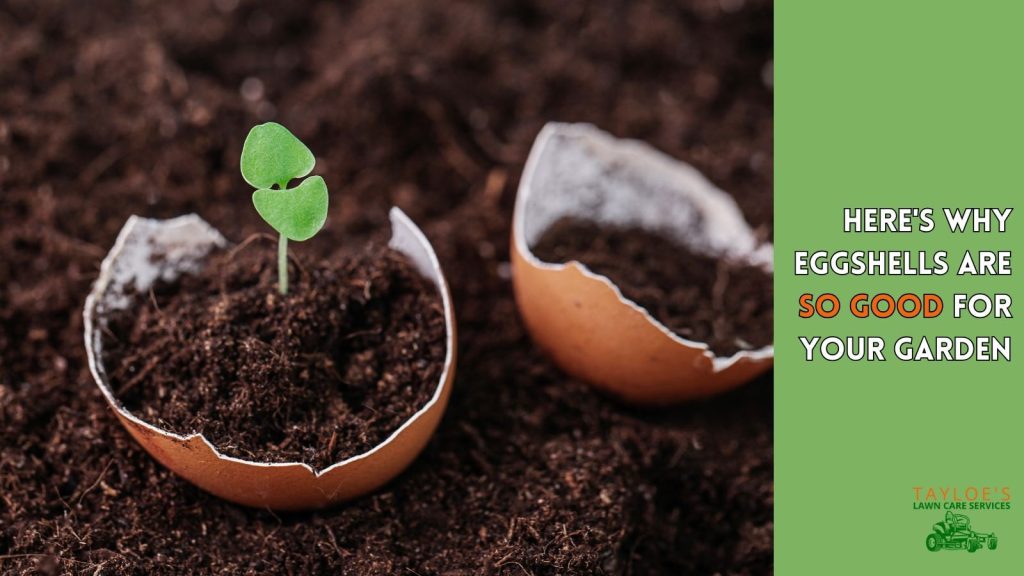
Crushed eggshells
Pine needles (Carbon-rich material, though quite acidic; use moderately)
Garden waste (Use disease-free only)
Yard scraps
Chicken manure (Nitrogen-rich material; excellent compost ‘activator’)
Avoid:
Composting perennial weeds
Meat, dairy, and fats
Pest-infested or diseased plants
Pet waste
Using Your Finished Compost
Before using compost, ensure it’s fully matured to protect plants and avoid attracting pests. Mature compost looks like soil and often settles at the bottom of the pile if not regularly turned, with newer materials on top. You’ll know your compost is ready when it:
Feels crumbly and smooth, with no visible scraps.
Smells earthy and fresh, like a forest after rain—if it has sour odors, it needs more time.
Has a rich, dark color and has shrunk to about one-third of its original size.
Once confirmed, your finished compost is ready to use:
Apply as mulch around garden beds
Work into crop beds or around trees
Spread over lawns or garden beds
Blend into soil for potted plants
Though it doesn’t expire, fresh compost within a few months provides peak nutrients, giving your plants an optimal boost.
Composting Through the Cold Is Worth the Effort
Composting offers an impactful way to enrich your garden by recycling organic matter and reducing waste, no matter the season. With a few simple adjustments, you can transform organic wastes into a powerful soil amendment that primes your garden for vibrant growth come spring. So don’t let cooler temperatures hold you back—start your compost heap today and enjoy the benefits of healthier plants and a more sustainable lifestyle. Follow Tayloe’s Lawn Care Services, LLC on Facebook for more tips and seasonal advice.
Author Profile

- Maureen Abuor
- Maureen Abuor is a professional content marketing strategist and SEO strategist, with particular knowlege of creating landscaping and gardening content that informs and delights her audience. When she's not working, she's a busy mother of three precious little ones and child of God.
Latest entries
 Lawn CareApril 29, 2025Best shady area grass seed for Eastern NC
 GardeningApril 15, 2025How do I make organic soil for the garden?
 Flower GardenMarch 7, 2025What are wave petunias?
 Flower GardenMarch 3, 202520 Full-sun annuals for your spring and summer garden

